I was looking for an easy alpine rock objective somewhere not too far from Vancouver and Blackcomb DOA Buttress route fit the bill. Shashi had also been wanting to tackle that route, so we decided to give it a go on a sunny August Saturday.
Gondolas, Glaciers, and Grumbling
We arrived in Whistler village around 9am and took the (insanely expensive) Blackcomb gondola ride up to Rendezvous lodge. Since the Solar Coaster chairlift no longer runs, our only option was to shell out $110 for the standard ticket. The 10-15 min ride was mostly spent in bonding over how Vail Resorts had shamelessly looted us while wondering if Europe – where gondola rides to your climb are the norm – does it any cheaper.
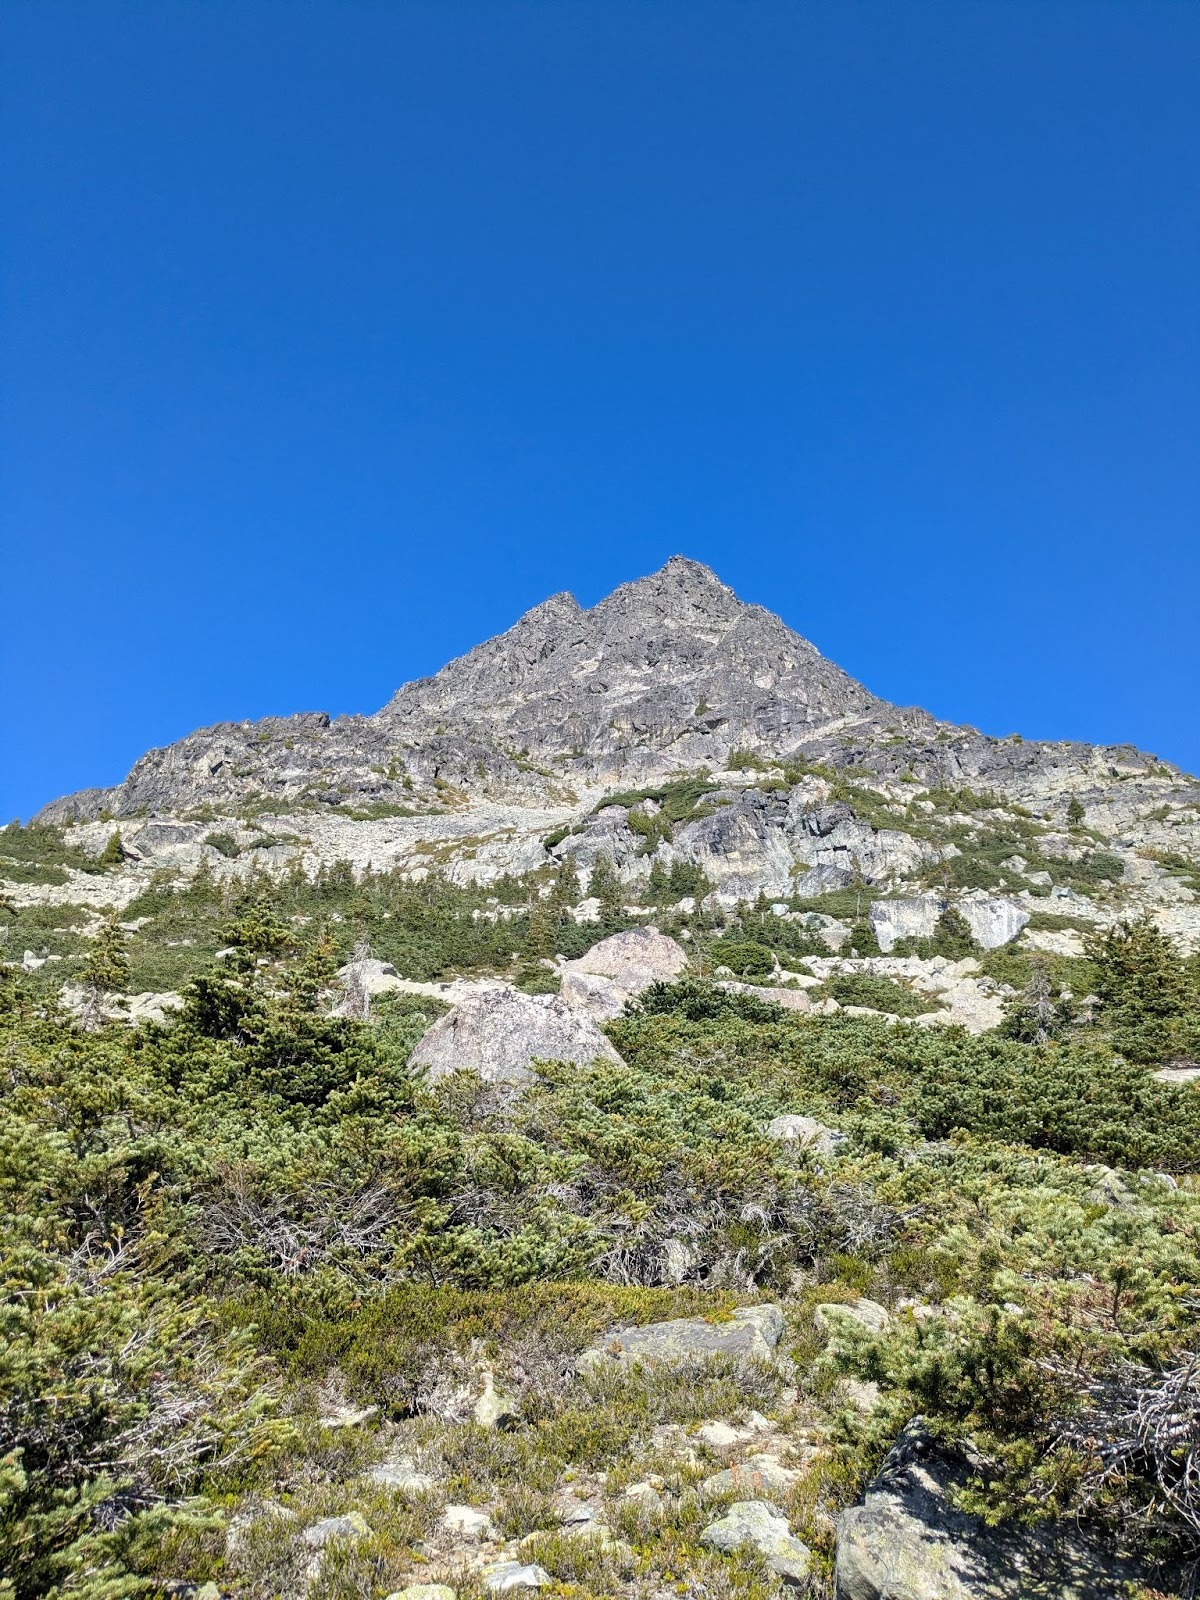
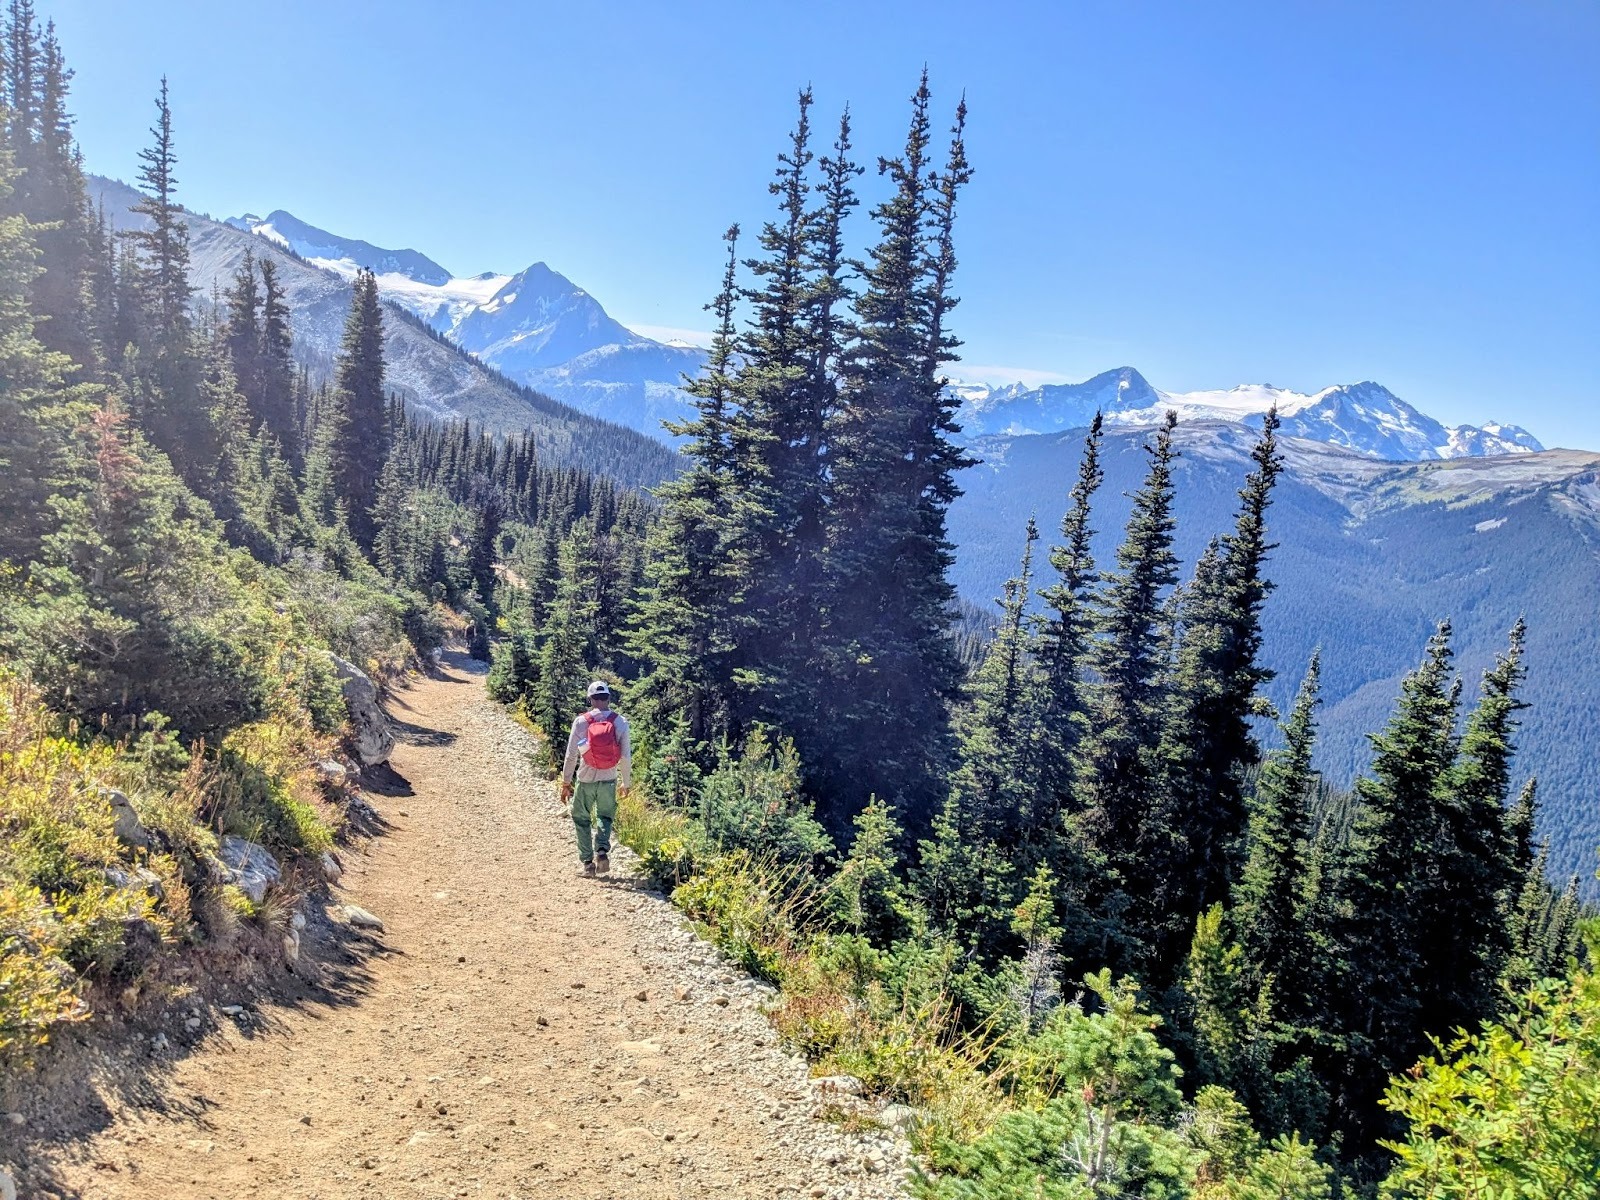
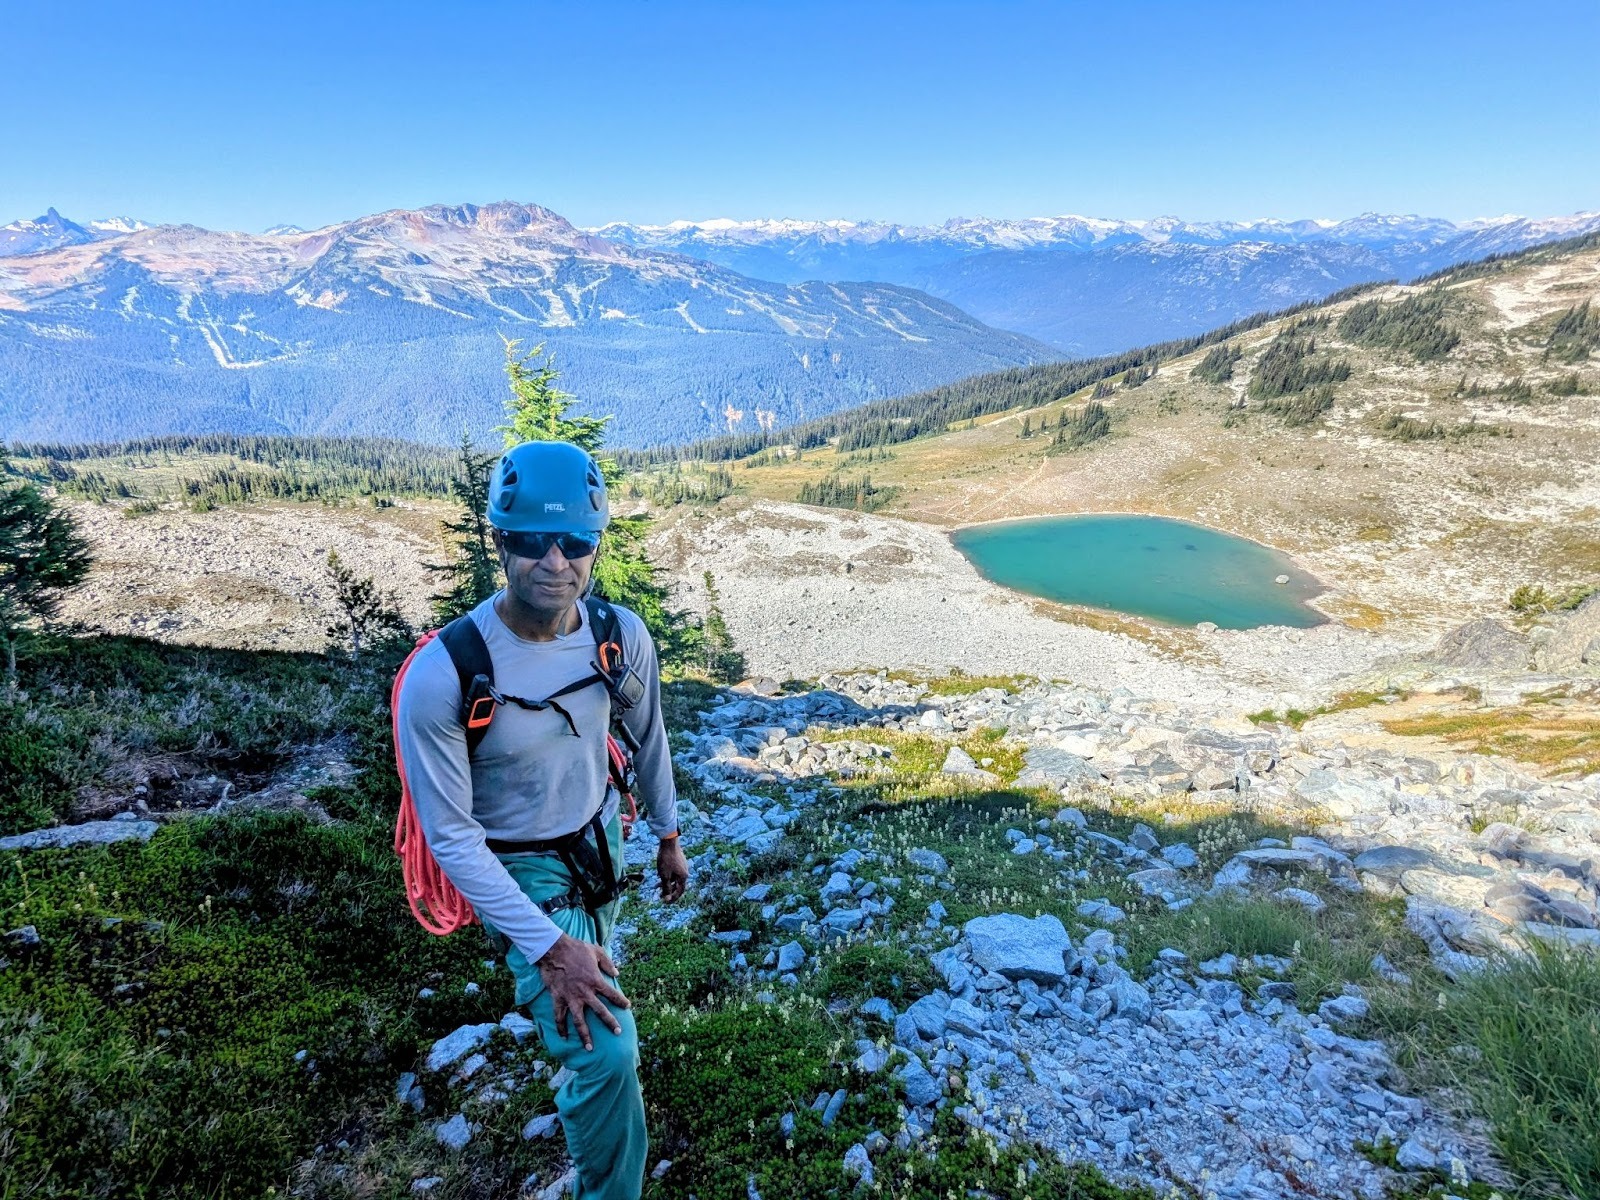
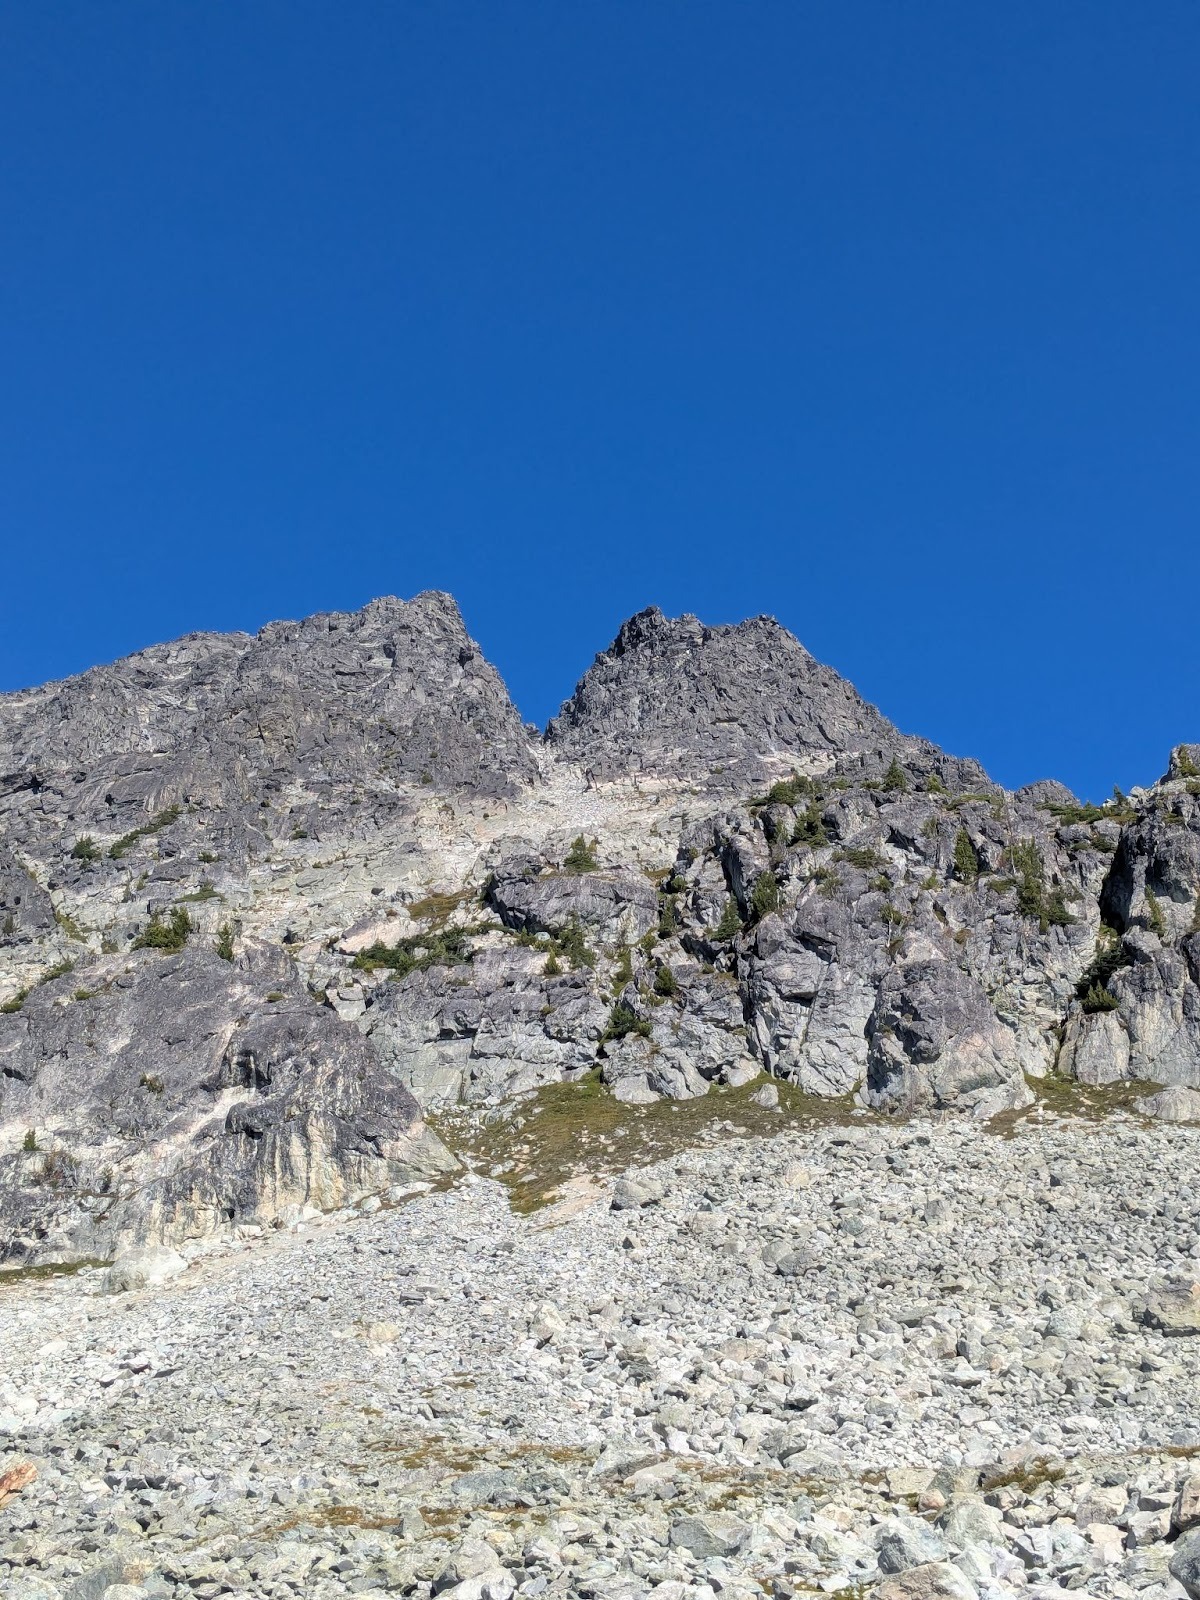
From the Rendezvous lodge, we hiked a well-maintained trail for about 40 mins to Blackcomb Lake. Along the way, we got the familiar views of Black Tusk, Castle Towers, and other peaks watching over the sprawling Cheakamus and Overlord glaciers. Before the lake came into sight, the two main buttresses of Blackcomb Peak revealed themselves: the Blackcomb Buttress and the DOA Buttress, separated by the “Dead on Arrival” couloir.
Once at the lake, we took a short break and harnessed up for the scramble up the peak.
The Scramble Up
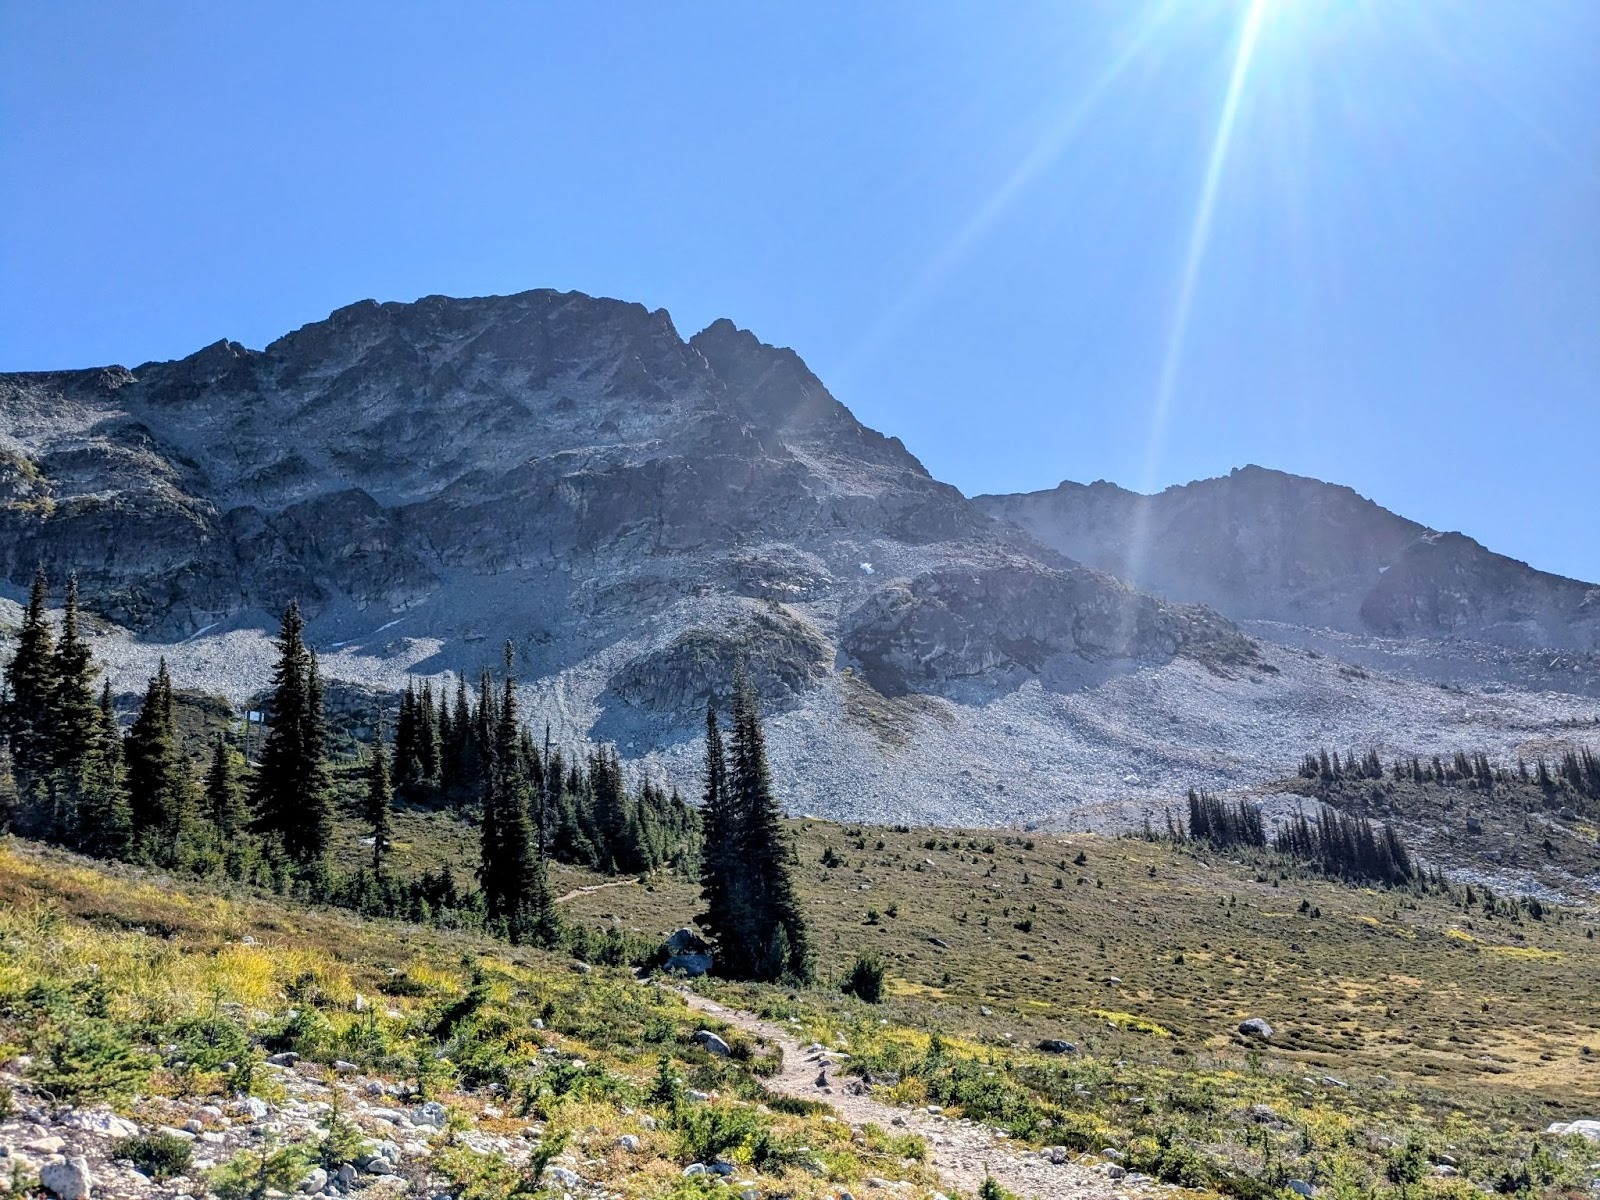
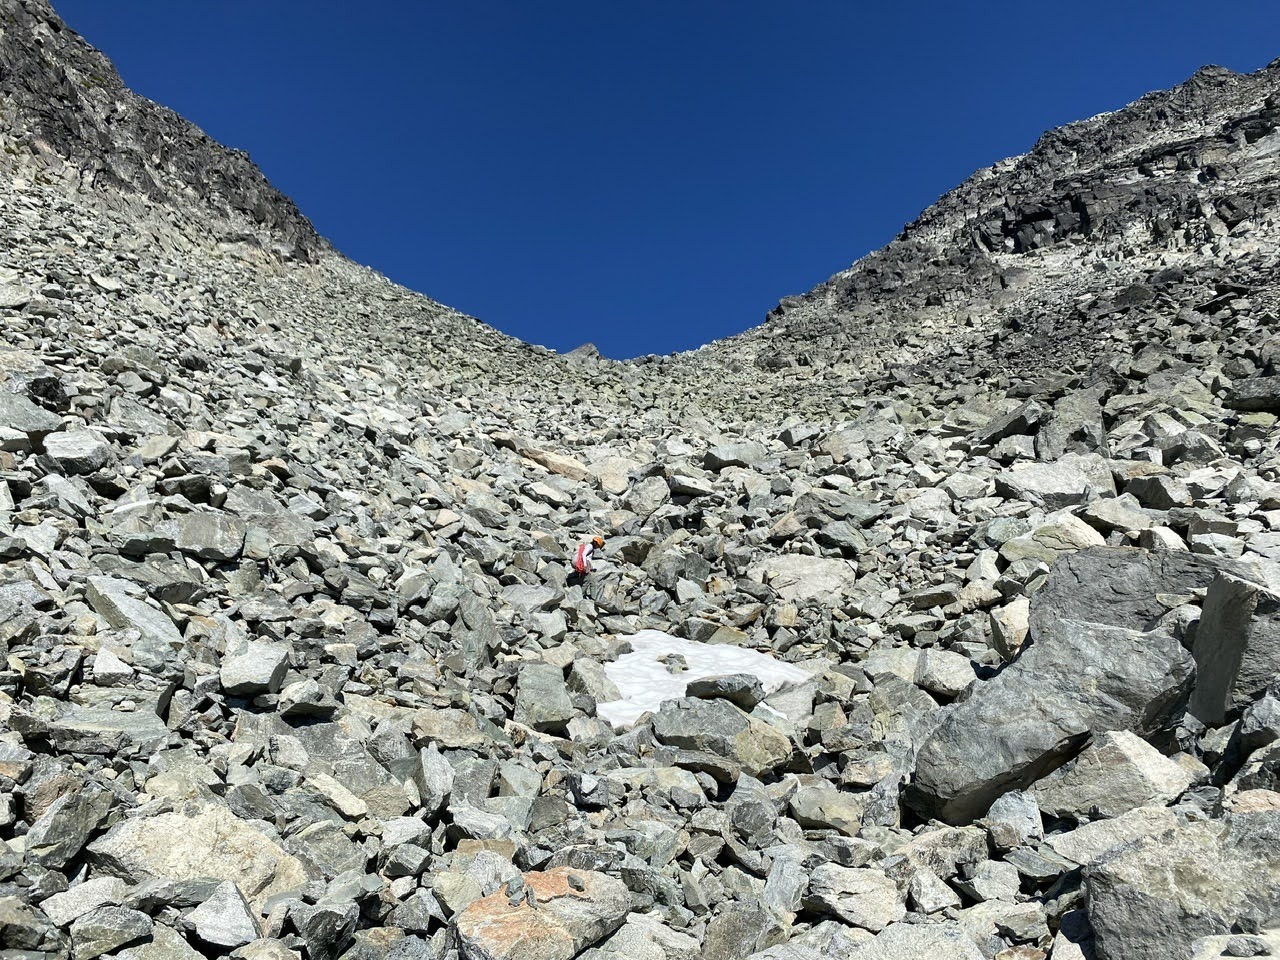
We skirted the climber’s right side of the lake and started scrambling up an obvious looking gully leading up to the Blackcomb buttress. The first 20 mins was an easy scramble on loose scree, talus, and occasional grass patches. As we went higher, the looseness became unpleasant.
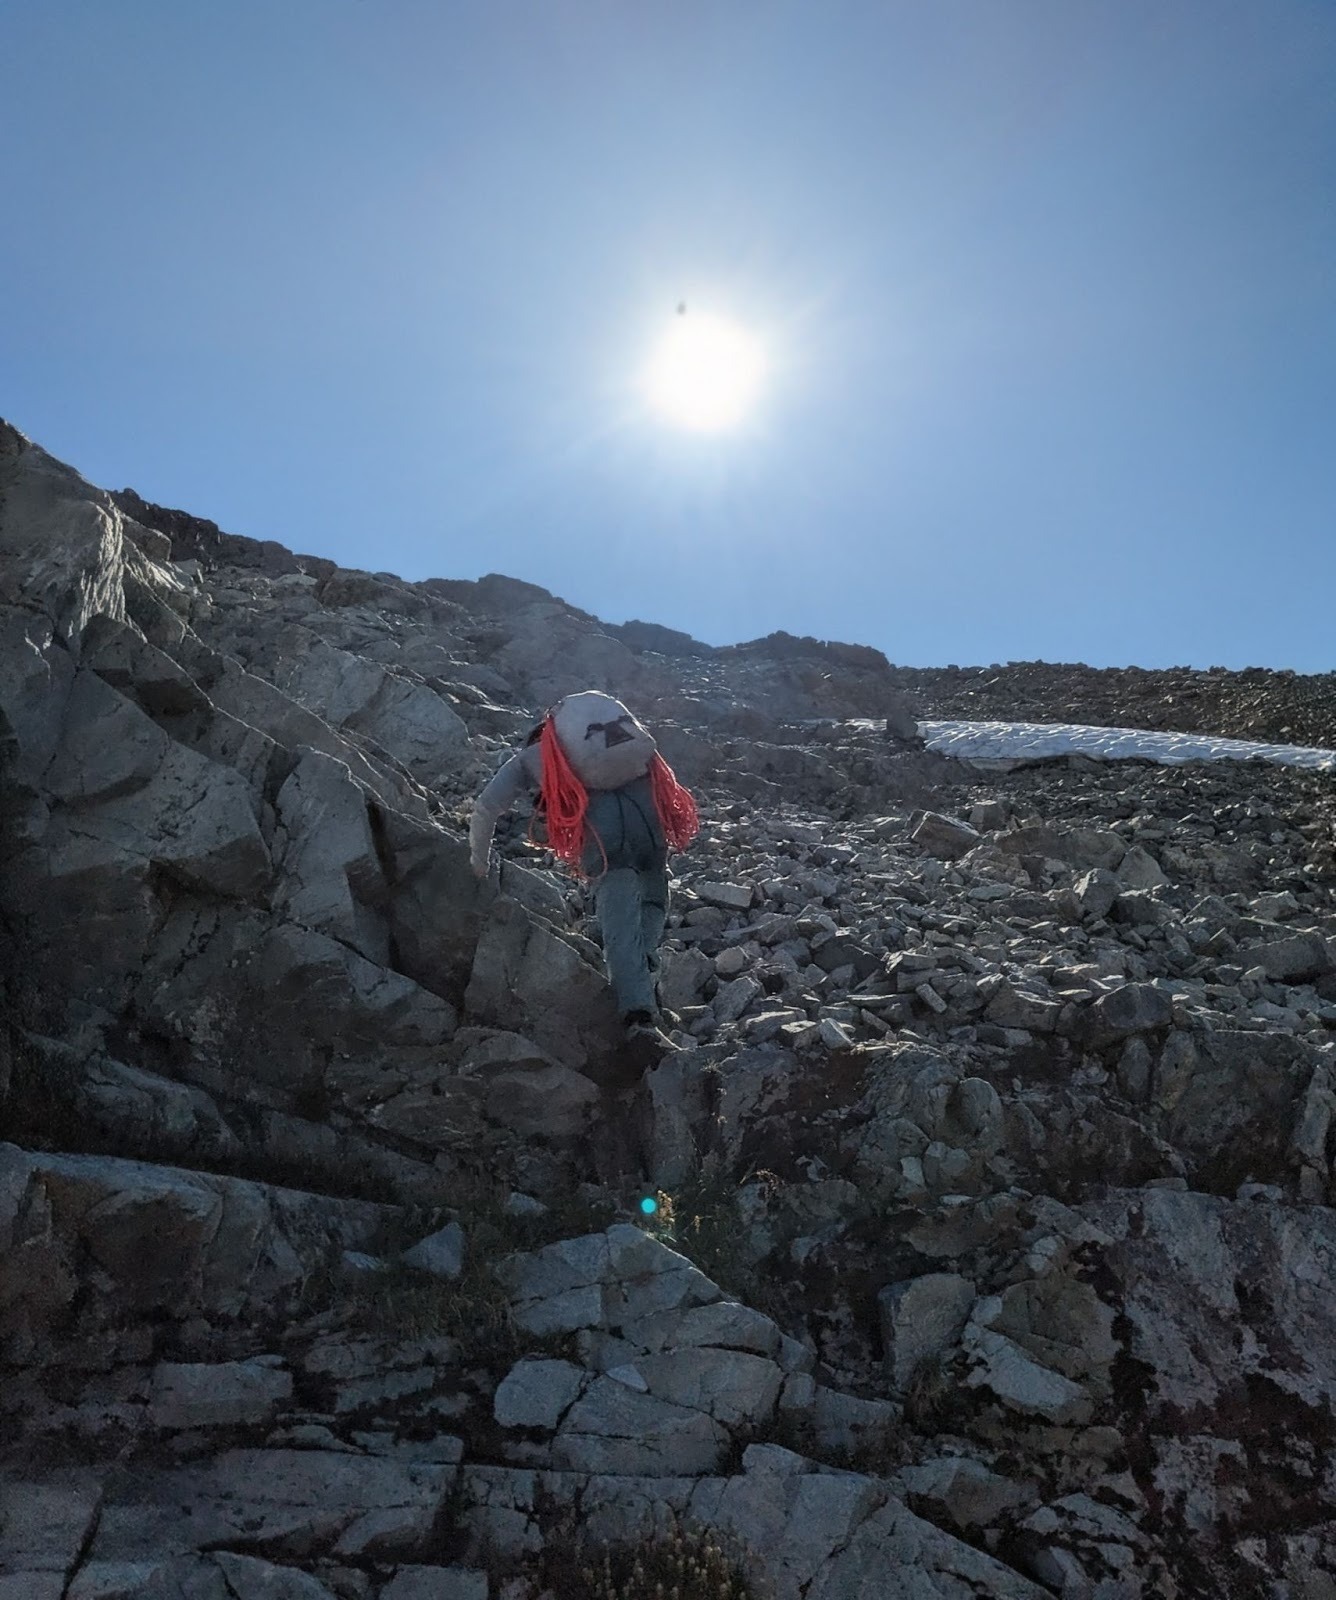
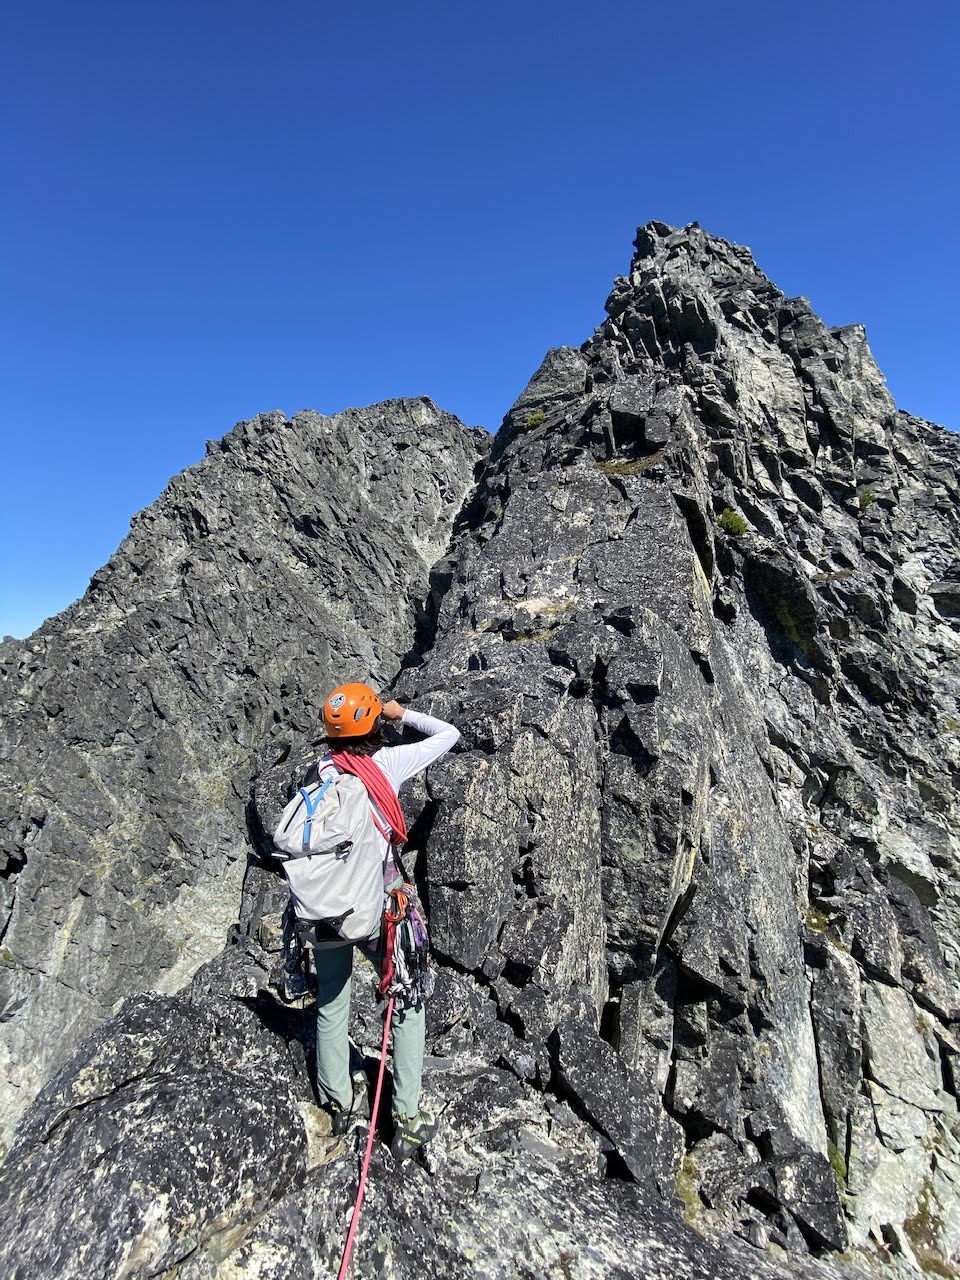
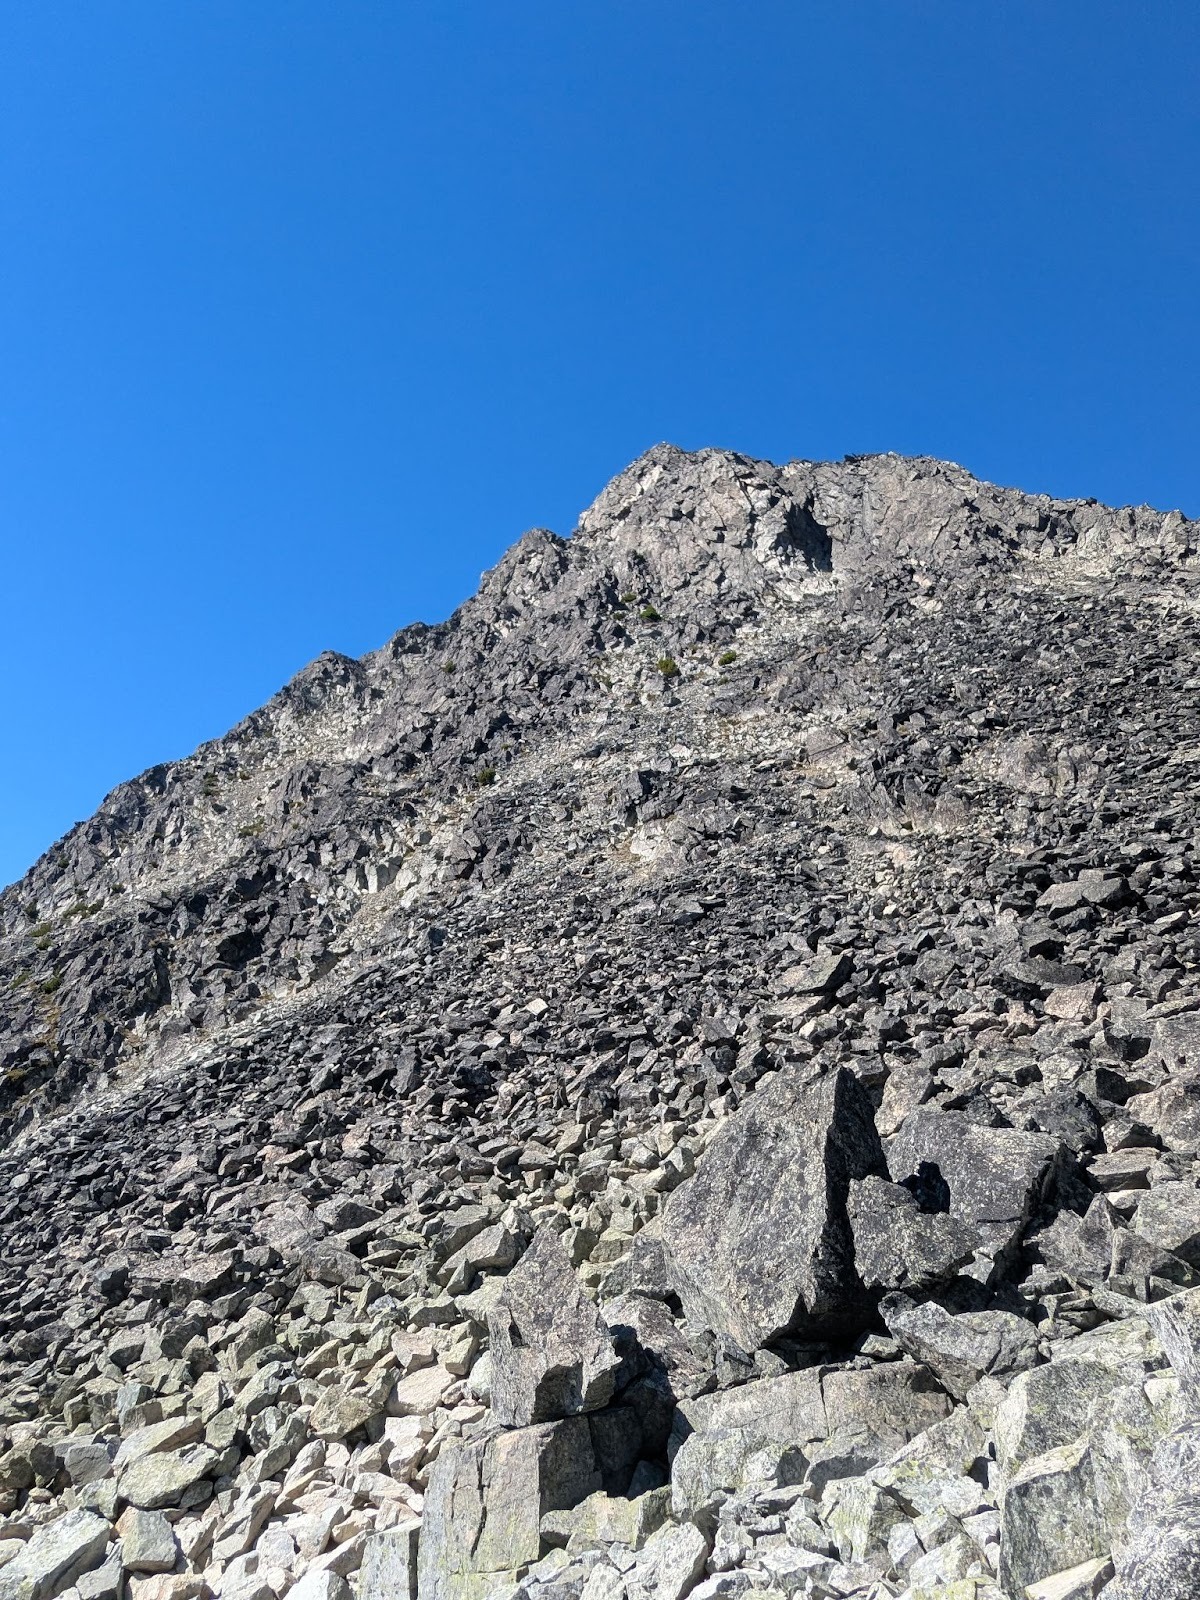
We spent some time scoping out the base of DOA buttress and the best place to cut across to the right side of the gully. The picture from Alpine Select helped us spot the line. After a bit of faffing, and about an hour after starting at the lake, we ended up at the base of the DOA buttress, with a couple of possible options to the top. We were slightly higher than the base of Blackcomb Buttress, which now lay to the climber’s left. After eying both the potential lines, we picked the more aesthetic looking one and began roping up at its base.

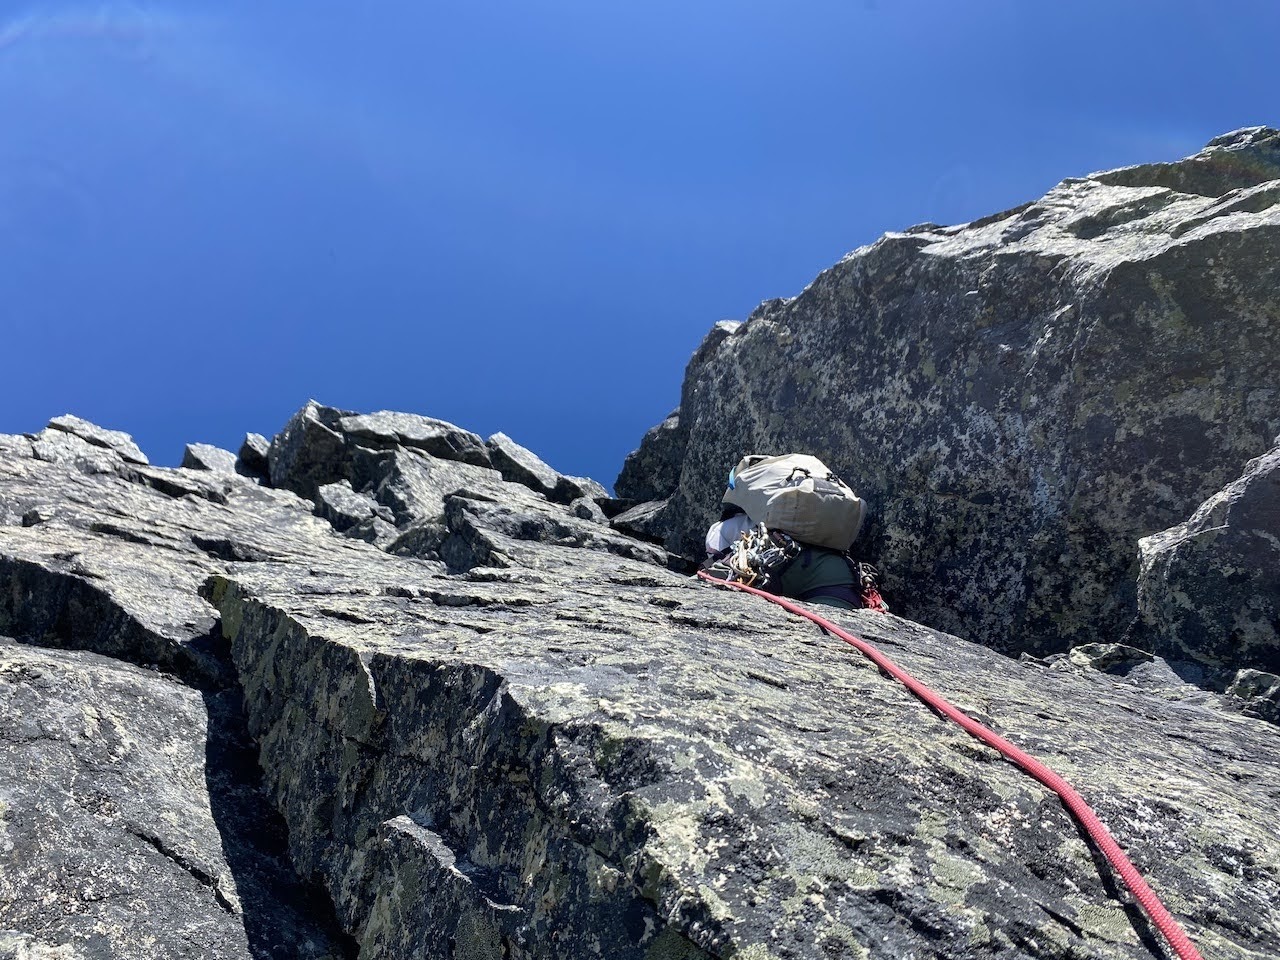
To Rope or Not to Rope
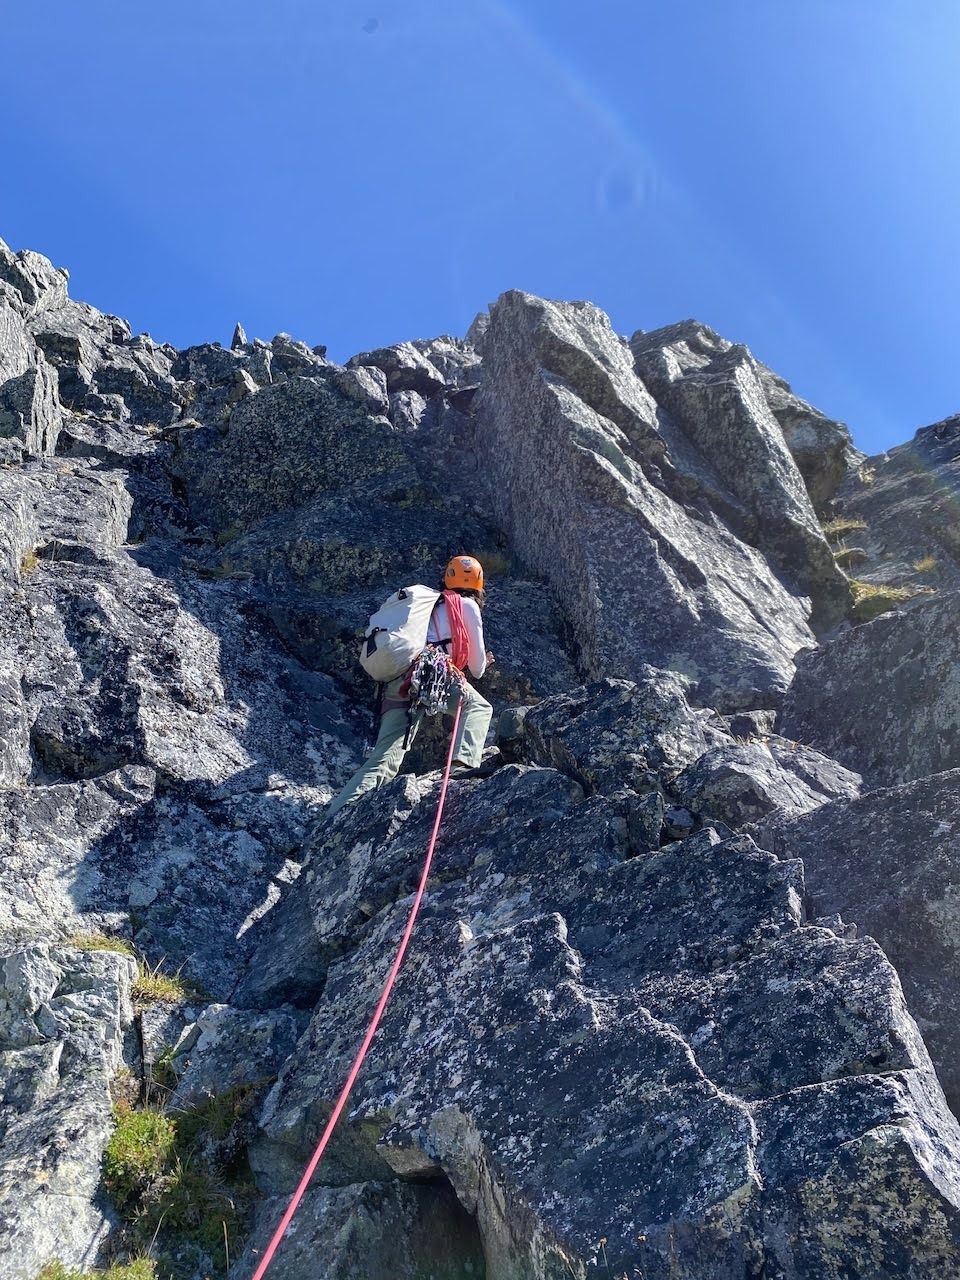
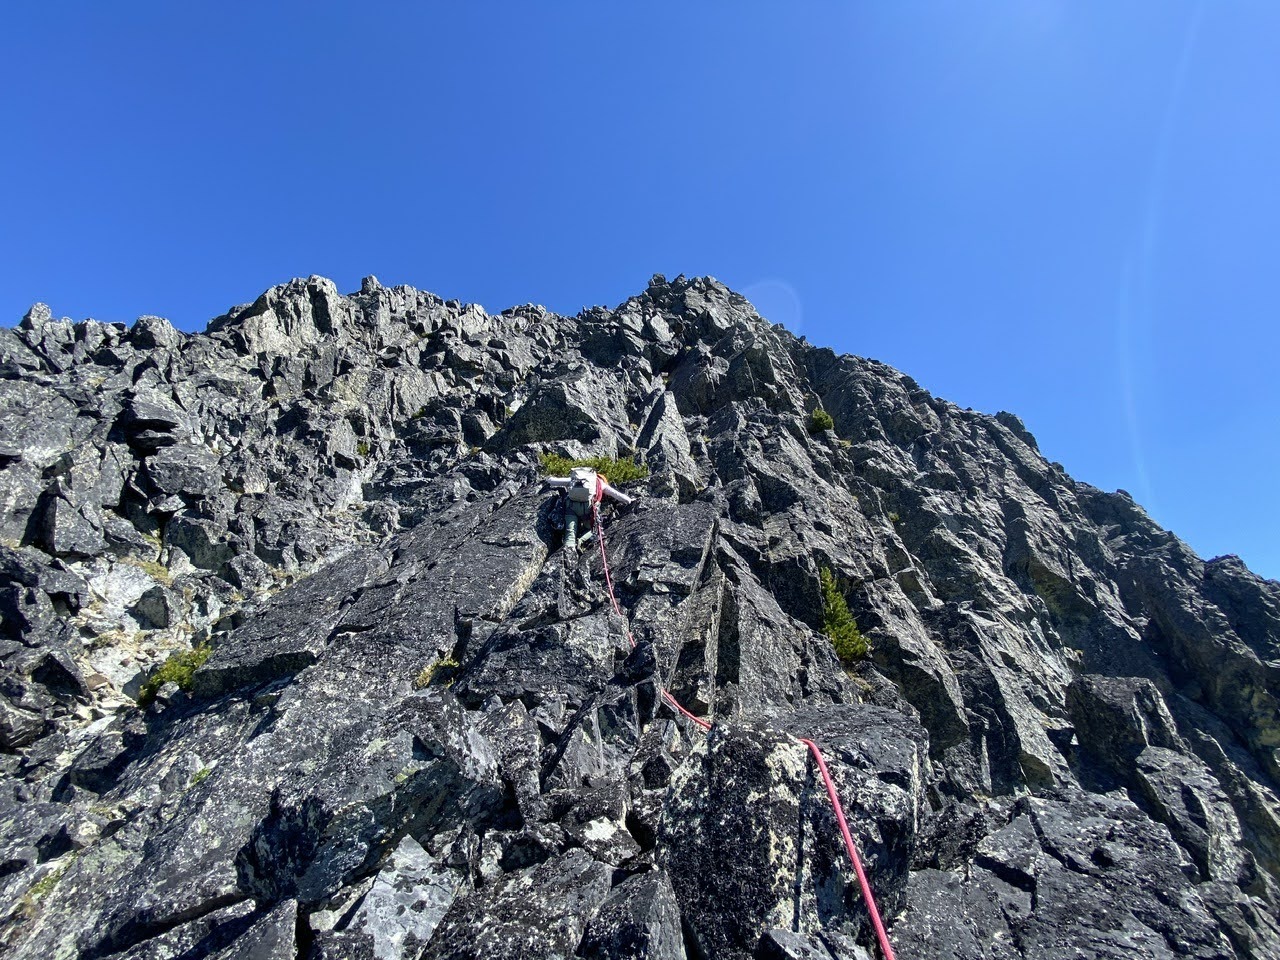
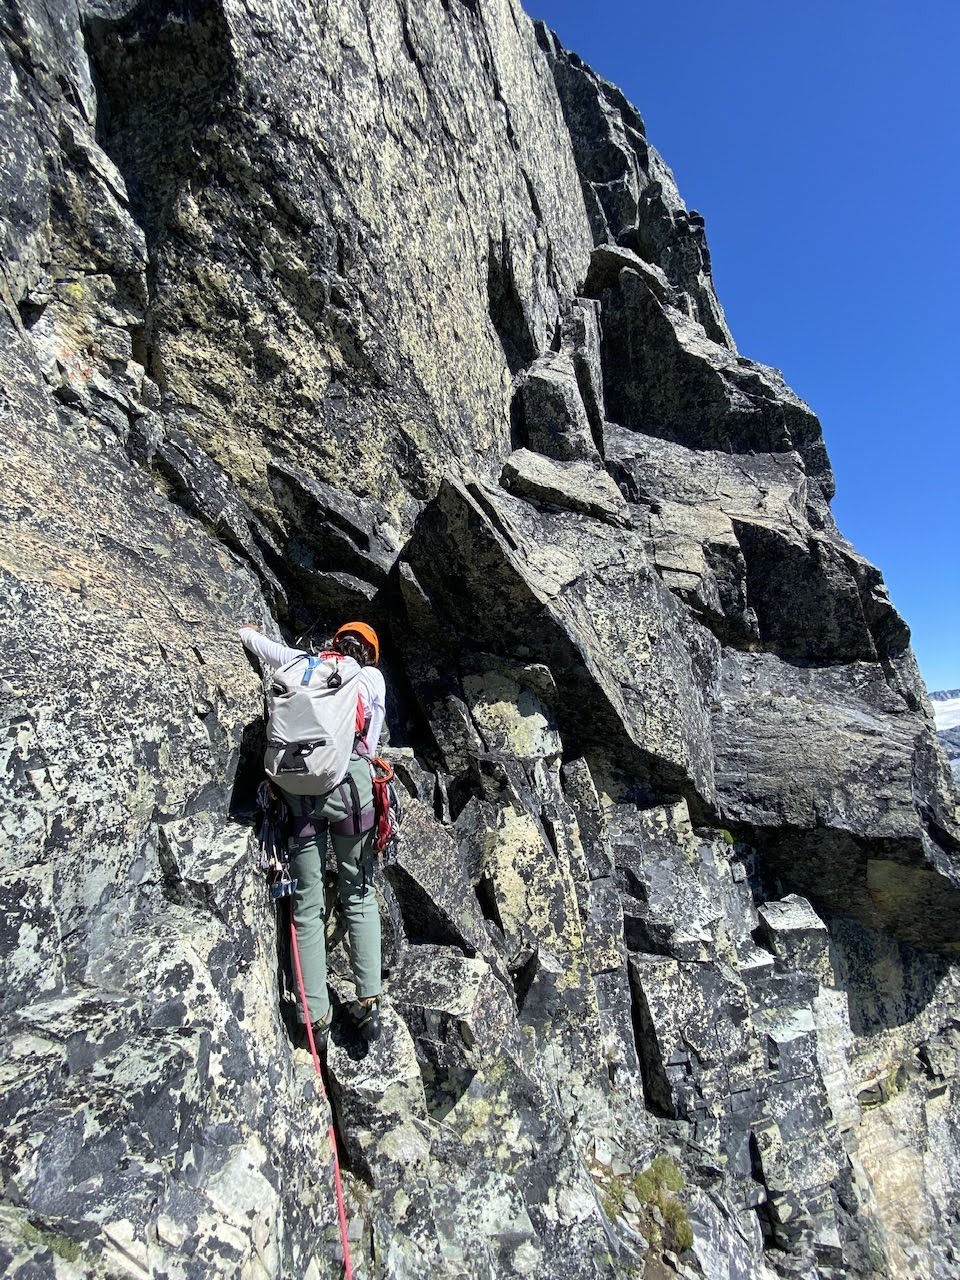
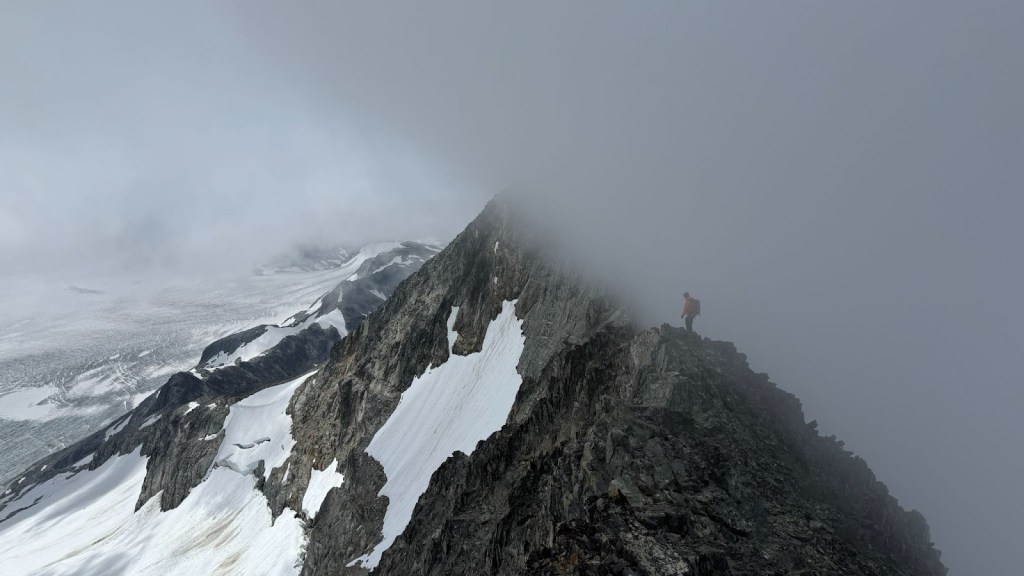
The terrain ahead didn’t look too intimidating, but alpine routes can be deceptive. Shashi suggested we might find ledges along the way where we could assess and rope up as needed, but I preferred to stay tied in from the start so we’d be ready to belay if the terrain threw any surprises at us. In hindsight, I rushed that decision. Given Shashi’s familiarity with the area and what we knew from research, we probably could have free-soloed individually or done a proper simul with gear. Instead, what we actually did was more like a “rope-up free solo”: about 150 meters of mostly 4th class and the odd low-5th section on crumbly rock, placing just a single piece of protection. Probably the most unsafe among the options we had at hand.
That said, alpine decisions are always context- and partner-specific. We made a choice that felt right in the moment, and it worked out. But Shashi and I both agreed later: next time, we’d do it differently.
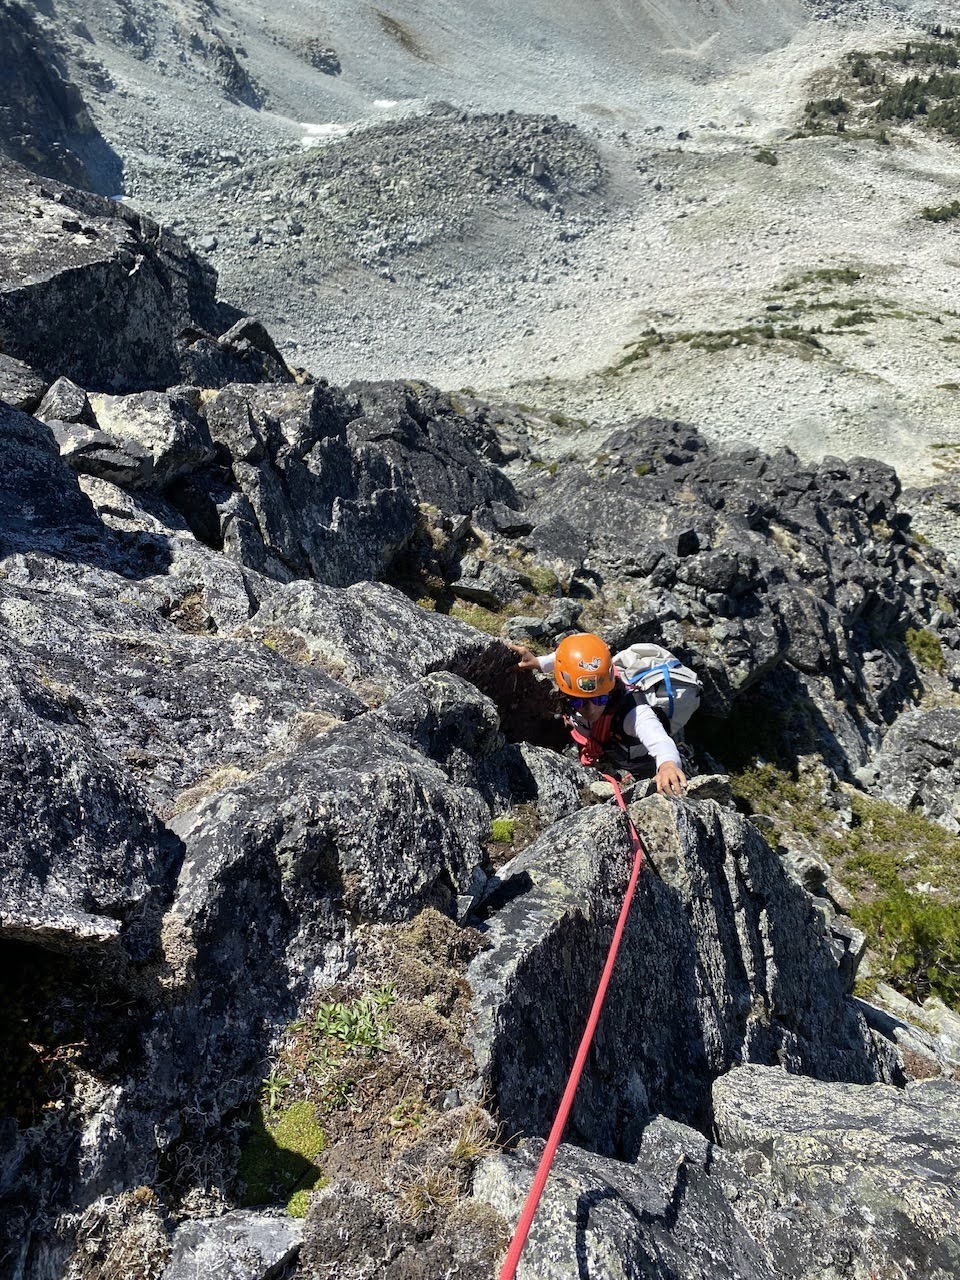
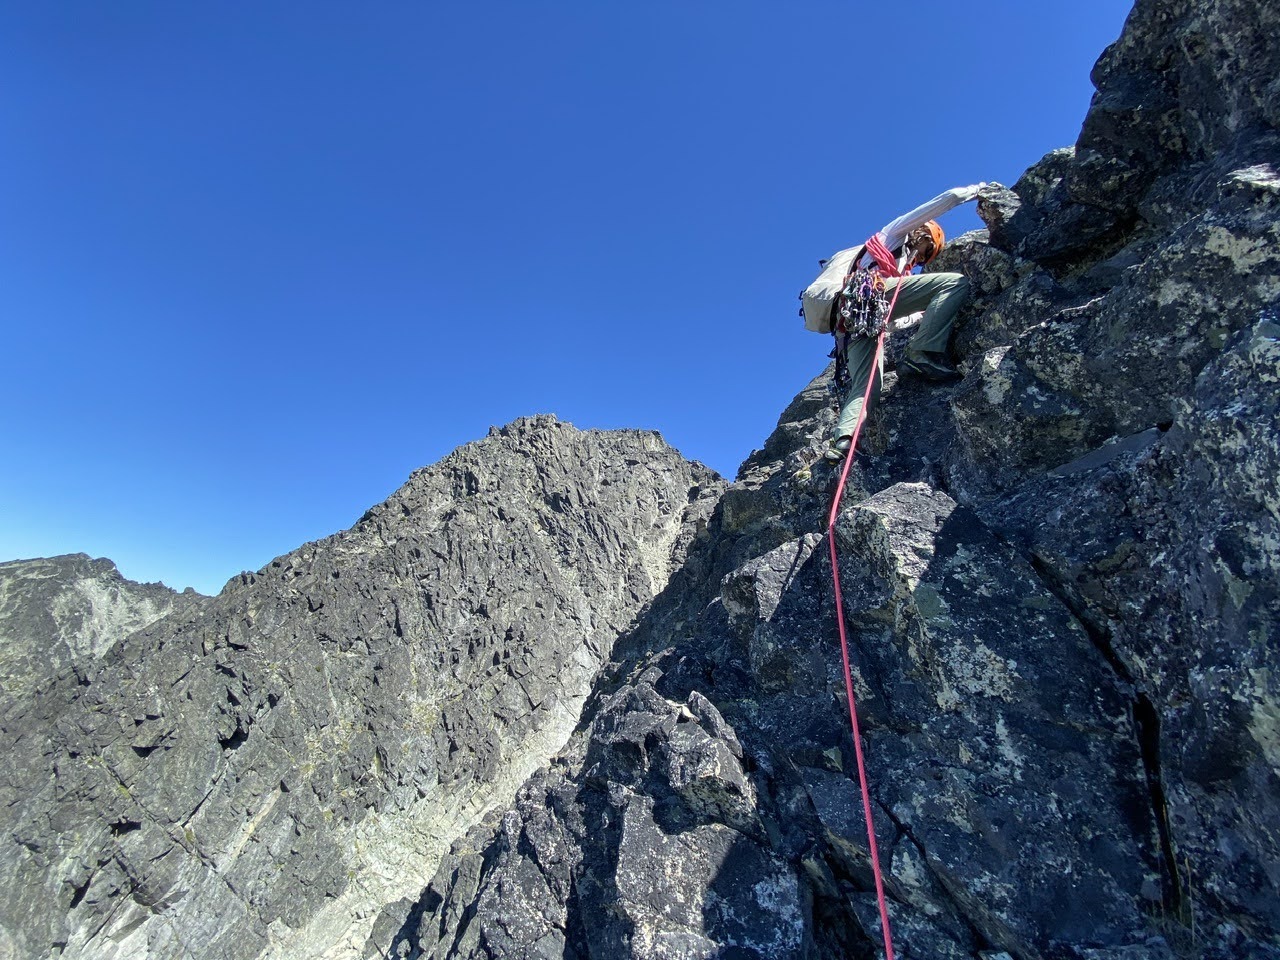
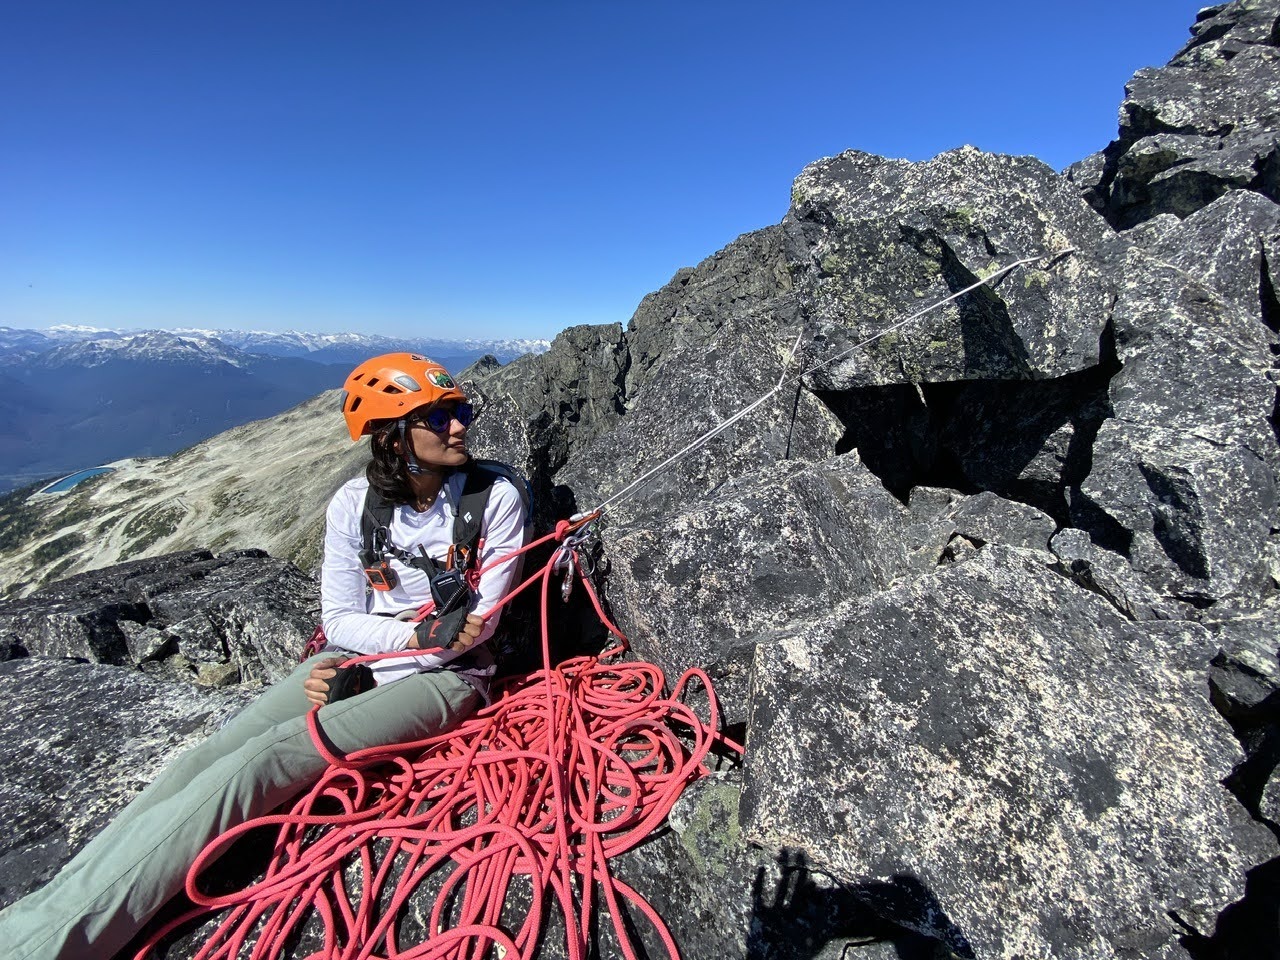
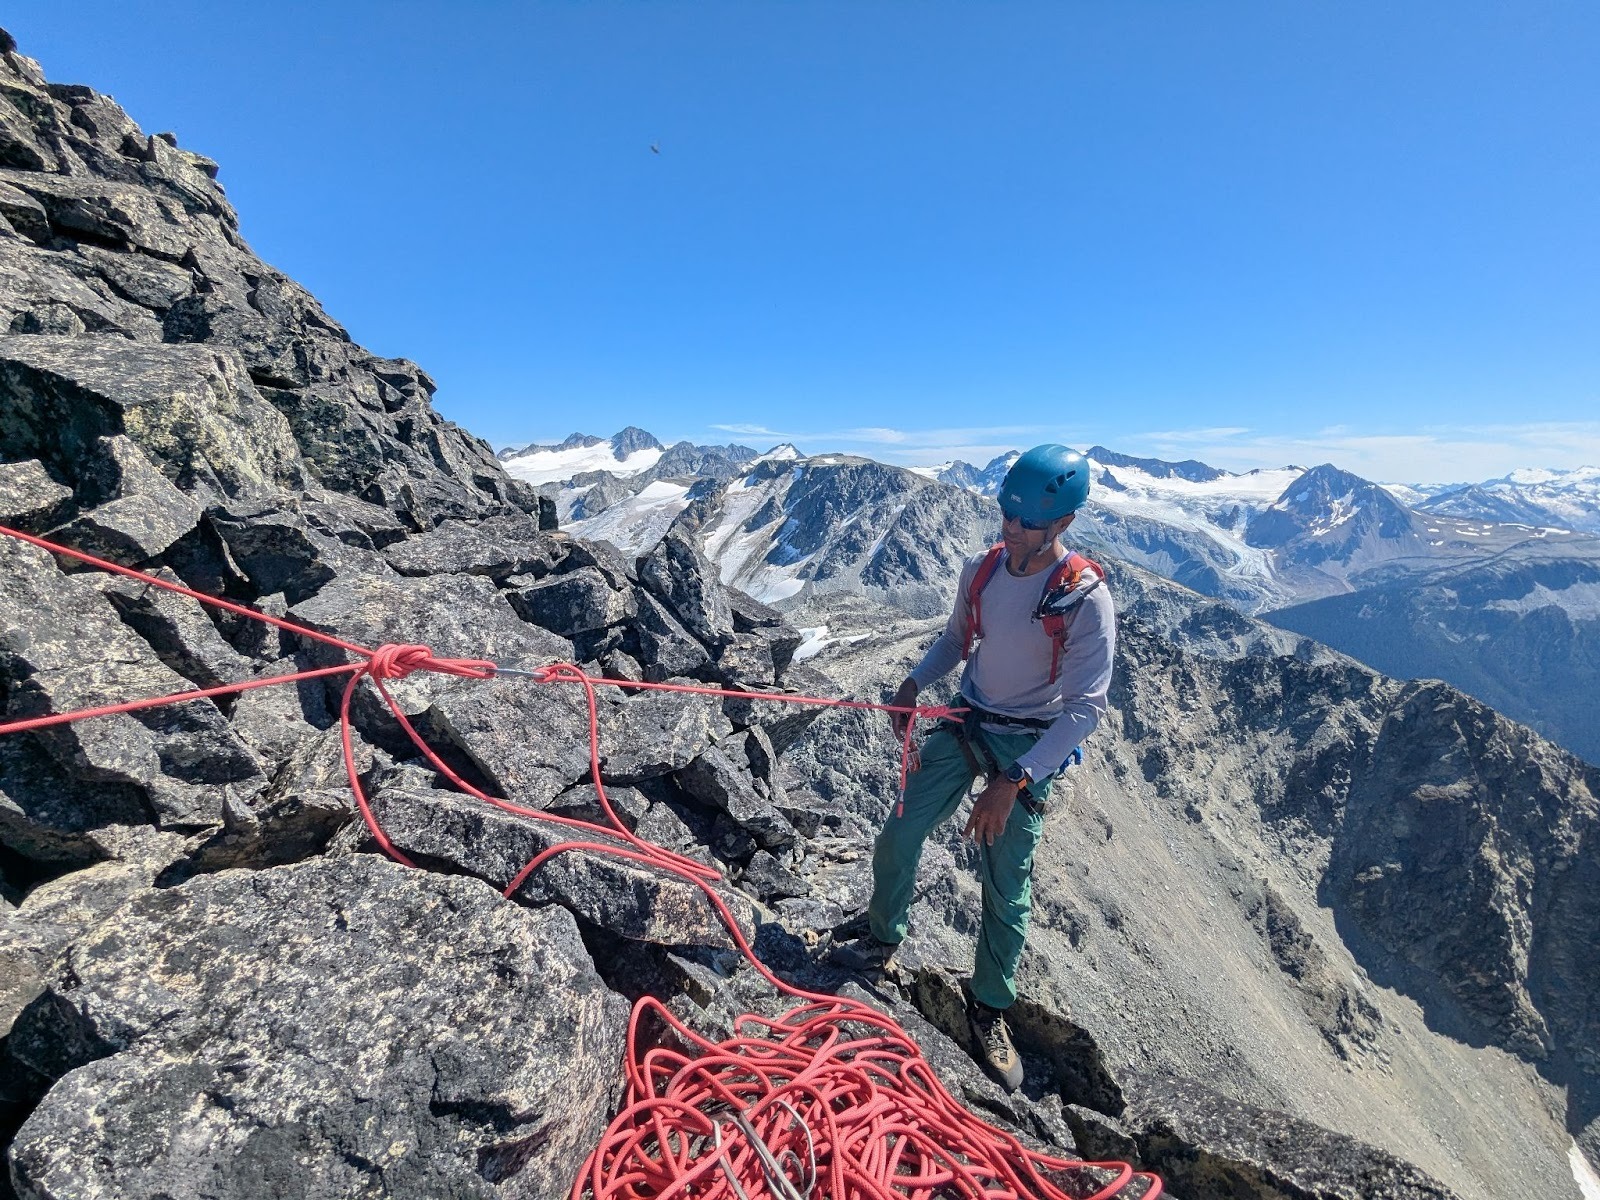
Leading and Learning
Shashi led the initial section and then at some point, I found myself in the lead. The route finding was fairly straightforward, even though the loose rock meant the movement was slow. For the rest of the climb, Shashi let me stay in the lead and I felt grateful for the opportunity to practice and gain experience. It’s the mark of a great climbing partner when they implicitly know what you need to learn and grow and generously offer you that space. Even though I fumbled a bit with rope management and walked away with a few lessons there, being on the sharp end was invaluable for building confidence.

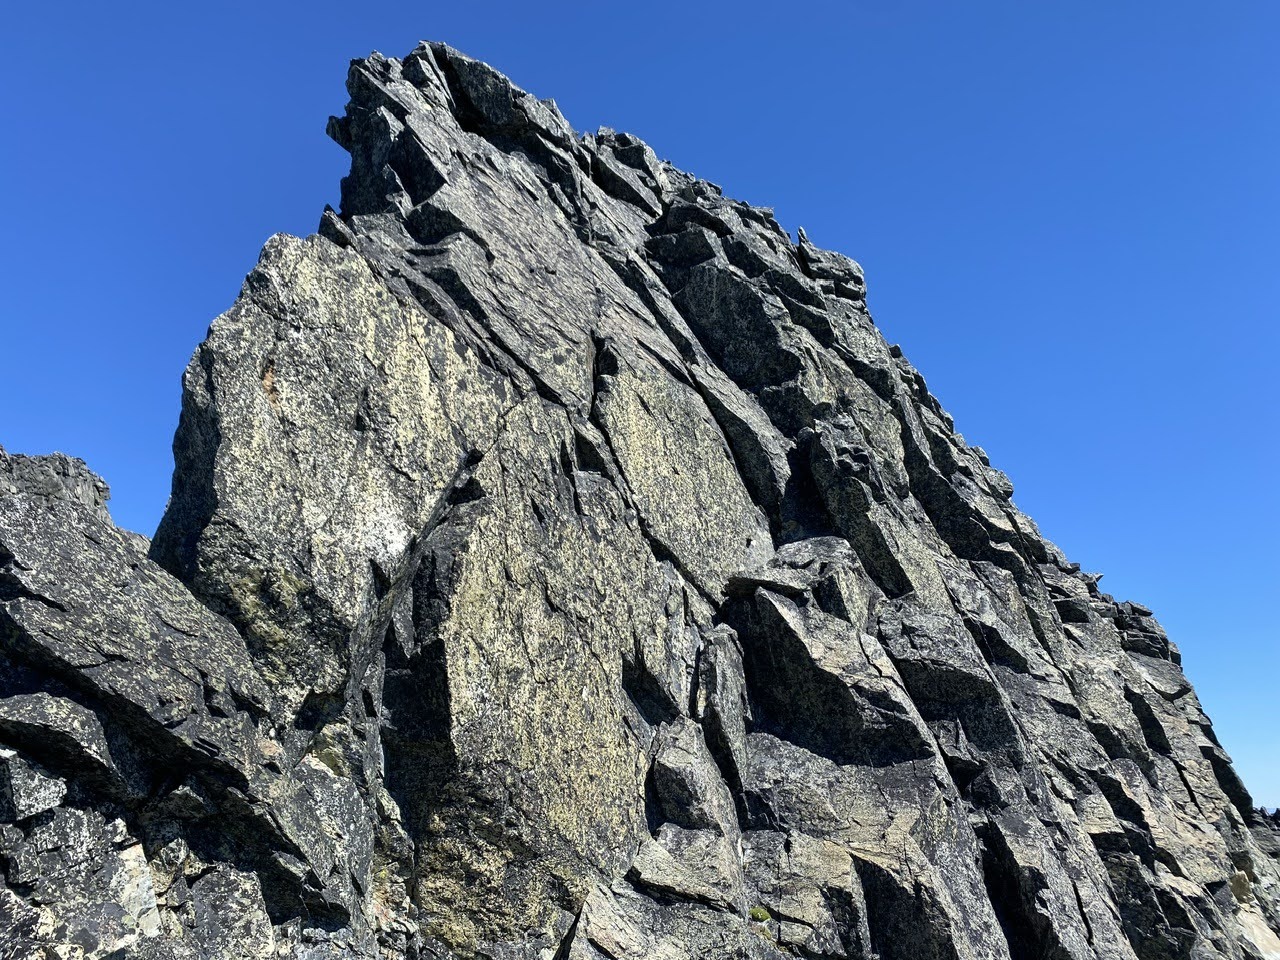
The Final Pitch
At last, we reached the base of the final pitch, rated 5.7. We saw a couple of possible options for this pitch. One line went up the face closer to the couloir – it looked exposed and with relatively poorer rock quality. The second option was a left-facing corner with good hand jams in solid-looking rock. The corner seemed like the obvious winner and after taking some time to review the route, I headed up. The pitch turned out far easier than expected, with a short-lived crux. I placed a couple of pieces, pulled through, and found myself on a wide, comfortable ledge. I slung a boulder and belayed Shashi up. We were just a few meters from the top of the buttress, so we spent some time discussing alternative methods of setting up the anchor (Thanks again, Shashi!) and then triumphantly walked up to the summit!
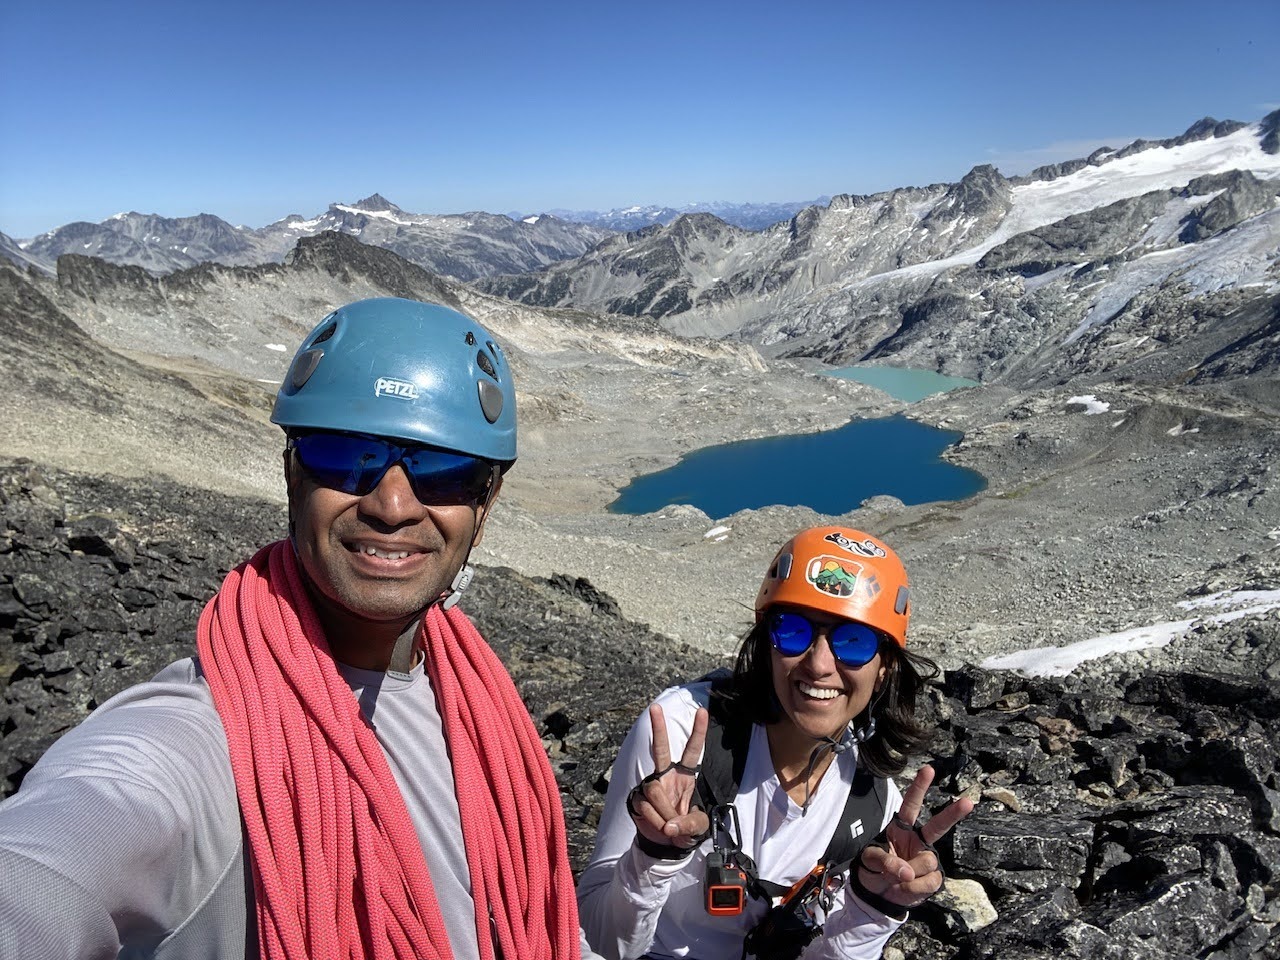
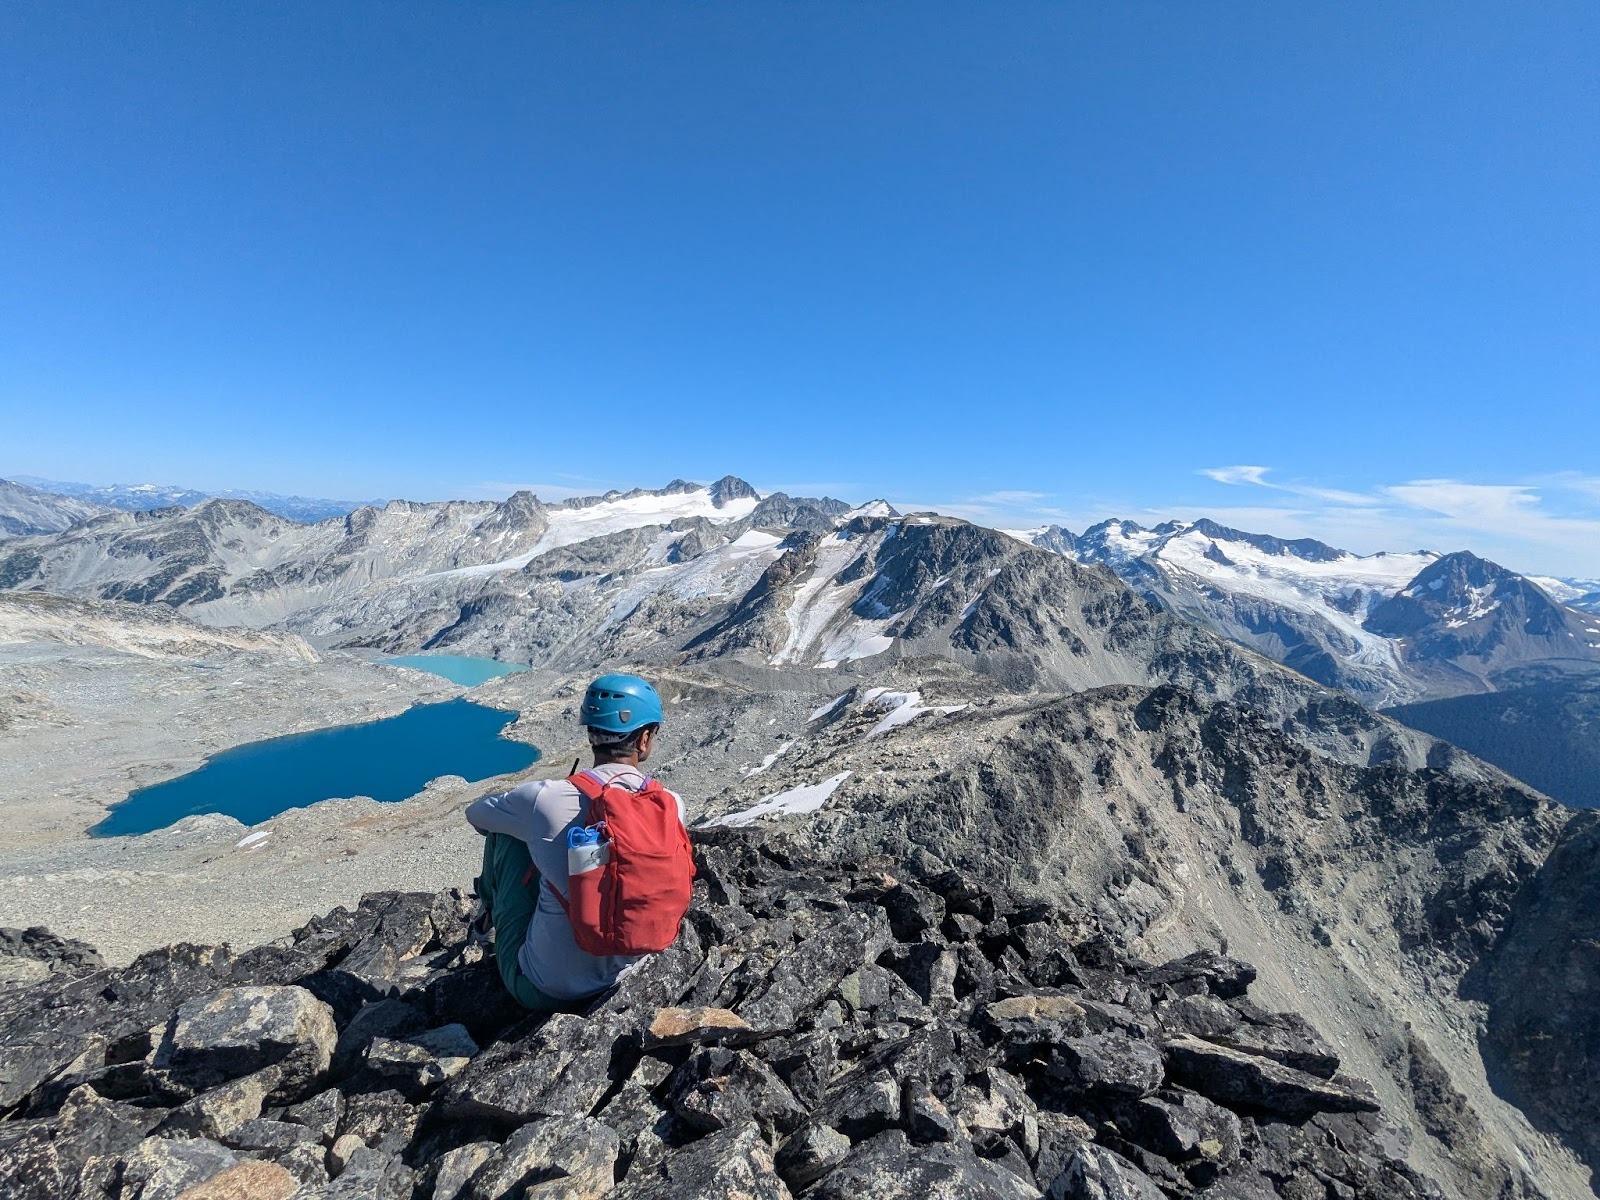
Summit and Descent
We celebrated with food, photos, and some quiet time taking in the lakes and peaks all around us. Eventually, we started the descent – boulder-hopping down to the col between Blackcomb peak and Disease ridge and then picking our way down loose rock in the gully. The downhill scramble felt monotonous. Ninety minutes later, we were back at Blackcomb Lake.
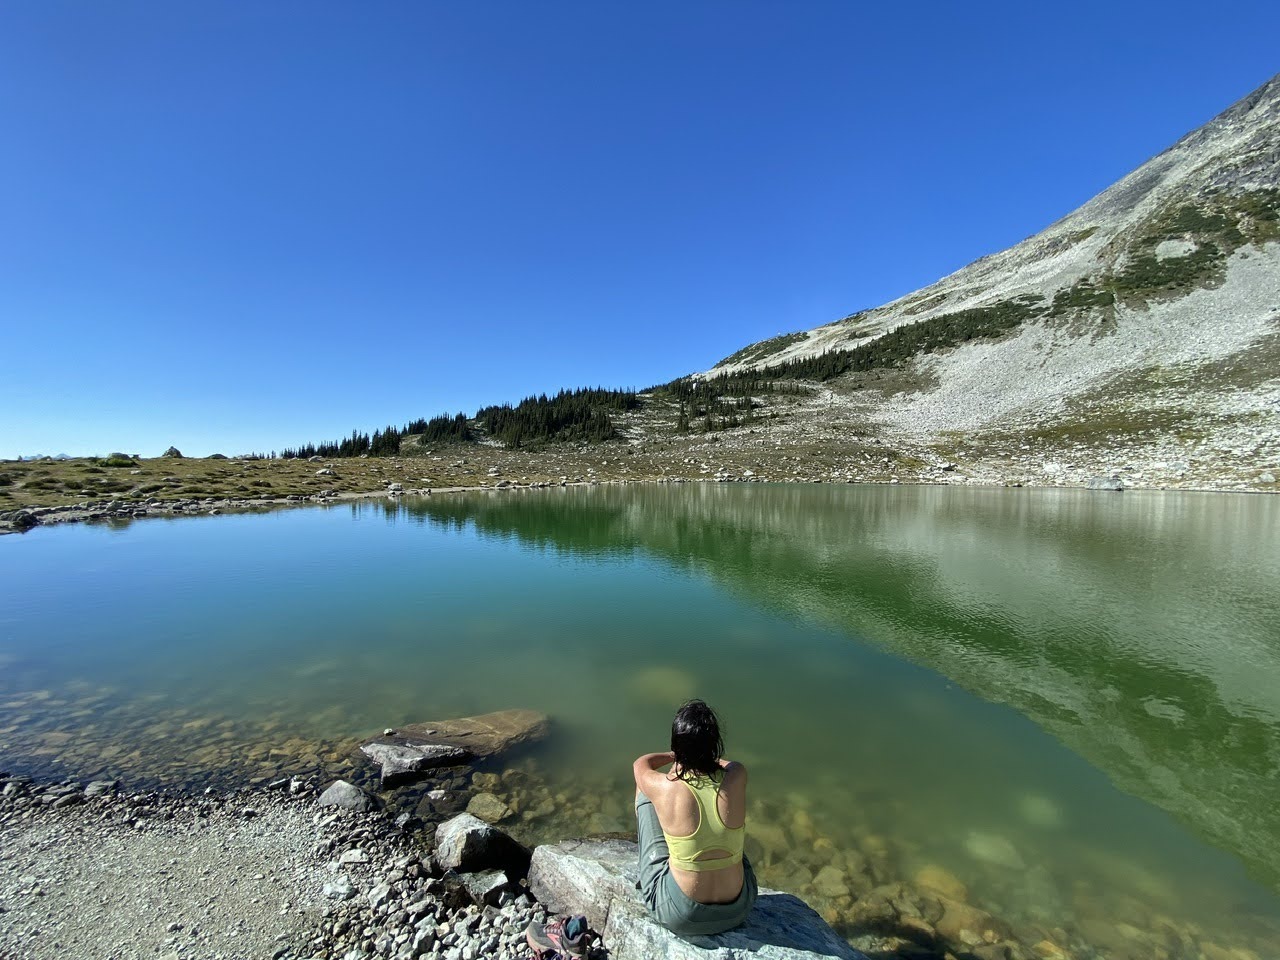
Leaving this place without a dip in the lake felt criminal, so we bravely went in for the cold but refreshing shock – the perfect cherry on the top of the day. Once again, I felt lucky to be exactly where I was!
Of course, no alpine day is complete without a small route-finding error. We managed to get lost for five minutes on the very obvious trail around the lake, but soon enough we were back on track and headed for the gondola – and eventually, the car waiting in the lot!


Leave a comment